One week project: creating Sixshooter 3D model
Have you ever modeled/built/painted/coded something and once you finished and looked at what you did you had no idea how you made it? 😀 It happens to me quite often. Especially when I model something I never did before and if the results are pleasing enough I am always overwhelmed by the fact that I was able to build this or that myself. It seems that someone gets inside you and does the work for you and once you’re done you are clueless of how you managed to do it. Oh wait… isn’t it called momentum/inspiration or something like that? 😀 Anyways I call it possession 😀 It is way more fun to look at this that way 😉 So this very feeling got me this week, when I stumbled upon another 3D challenge. On Monday I was asked to make a Sixshooter model, any kind, my choice. So I accepted the challenge and started to work. I never modeled any kind of gun before, so it was scary and exciting at the same time. But I was quite in the mood for modeling a Sixshooter, cause at the moment I am reading Stephen King’s “Dark Tower” books, so it was quite a boost for me to think that I am modeling Roland’s Sixshooter 😀 yeah.. that’s me 😀
Looking for Reference images
So I started my little project by looking for some reference images. I searched in Google for some decent Sixshooter pics. I was lucky enough to find nice quality pics from left and right side. Unfortunately I wasn’t able to find any pic from front side or back view, but I looked up some Youtube videos of dudes reviewing Colt Sixshooters 🙂 So that I could get better understanding about the width and complexity of the gun itself. So the videos were very helpful. Basically anything is helpful when you built something that you never had a chance to see/touche in real life.
The beginning is always the hardest
Once I set up my reference images I started to build the model itself. The hardest part for me is to decide what preset shapes to use or if to use them at all and use the splines instead. How many separate parts should the model have and etc. But once I get hold on that- everything else comes fast and easy. I really love modeling part, it is the best part of whole 3D process for me. To see the big picture come to live. I can’t say that it was hard to model this gun in general, but it was challenging for sure. The most difficult part to model was main gun body. I built it using a box preset 🙂 Don’t really know how I managed to do it, but I did it (yeay!). So the whole modeling took me two days. It was a lot faster than I had expected from myself. But yeah, in two days time I had my model made. And then came texturing time. The most “fun” time.

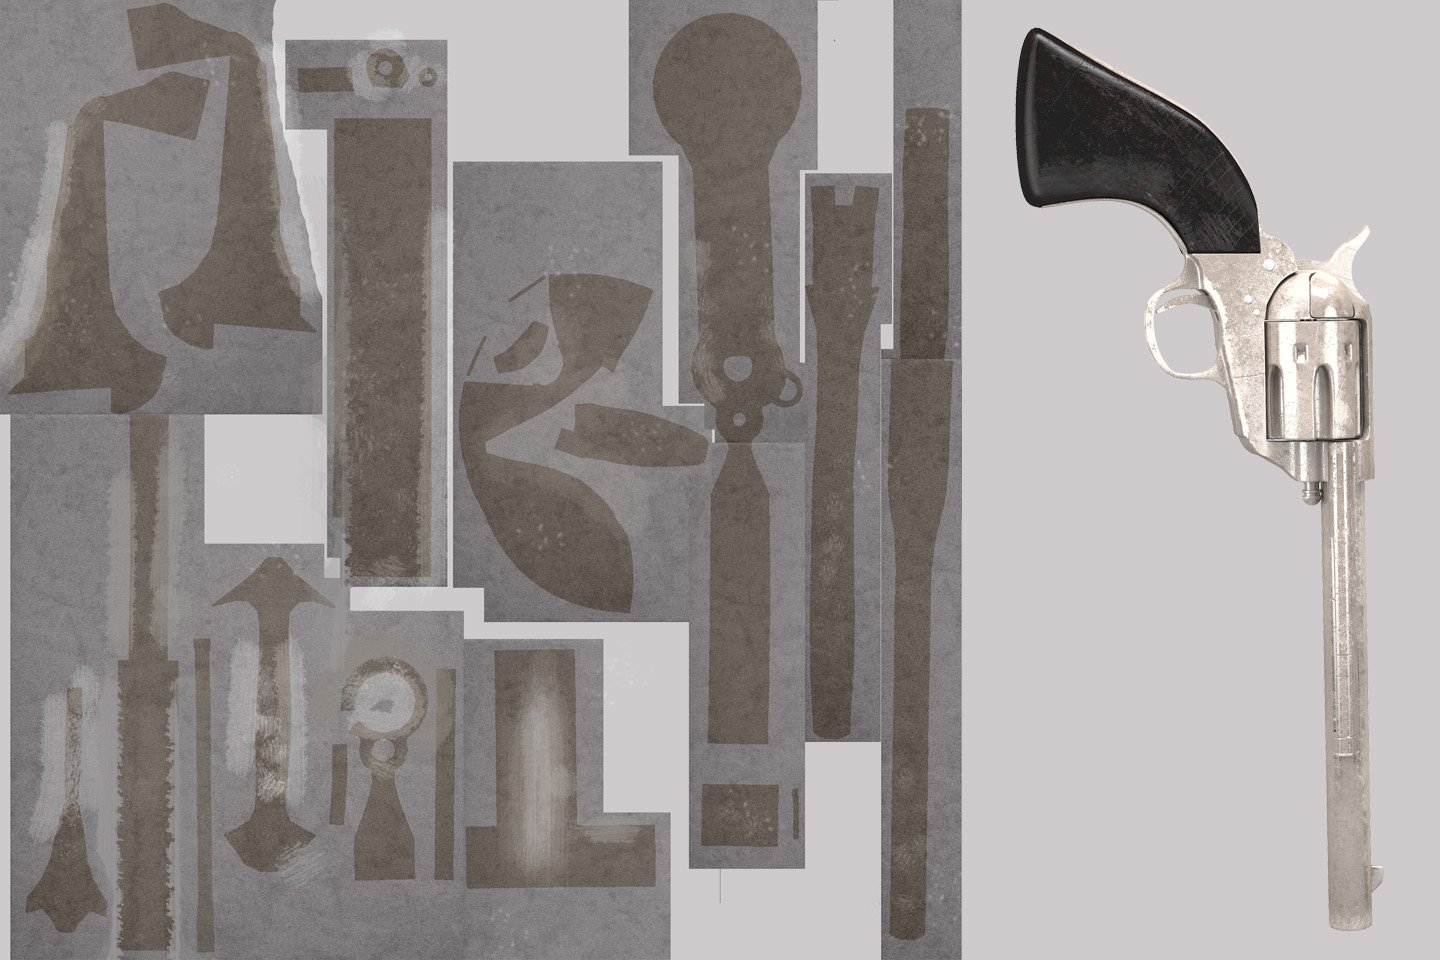
UVW Unwrapping. Please, God, NO!
The model texturing is the part that I really have a hard time with. It is easy-peasy if the model does not require a UVW unwrapping. because in that case you just add a UVW map modifier, load some texture and you’re good to go. But in my Sixshooter case I had to deal with UVW unwrapping. If you are a person who likes UVW unwrapping, I bow low to you! I don’t how you deal with it 🙂 It is just something that costs me a lot of nerves, which do not function that well with the age as well as the amount of patience 😀 I’m just not sure if the UVW unwrapping develops my patience or kills it slowly… So anyways I do not enjoy the process, but what has to be done has to be done, right? (no? yes? maybe? probably…) So it took me two full days to finish the unwrapping joys. Once went through unwrapping Hell I was ready for texturing.

Model Texturing
So for this model I had to create the custom textures in Photoshop. So I took all the unwrapped maps I made before, loaded them into Photoshop and combined some metal textures and random paintings, mixed and matched them and made my simple worn metal textures. The process is pretty simple, I just don’t have enough experience to make a quality textures yet. And it takes a lot of adjusting till you get the look you want and need. It took me a day to complete my textures and I was quite happy with the result, knowing that I am a total noob in the department of custom texture making.
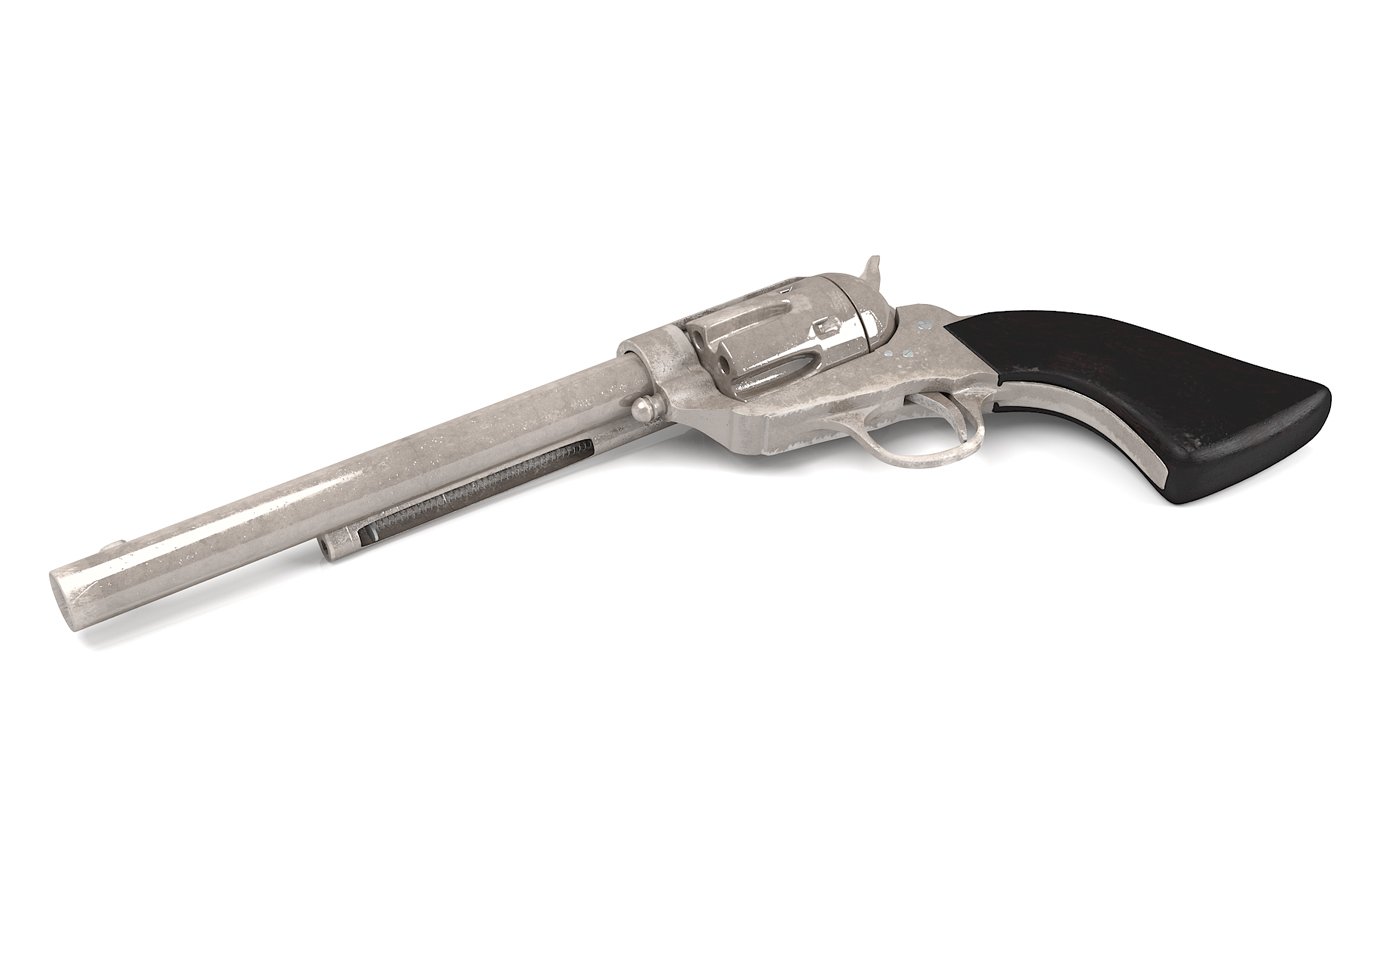
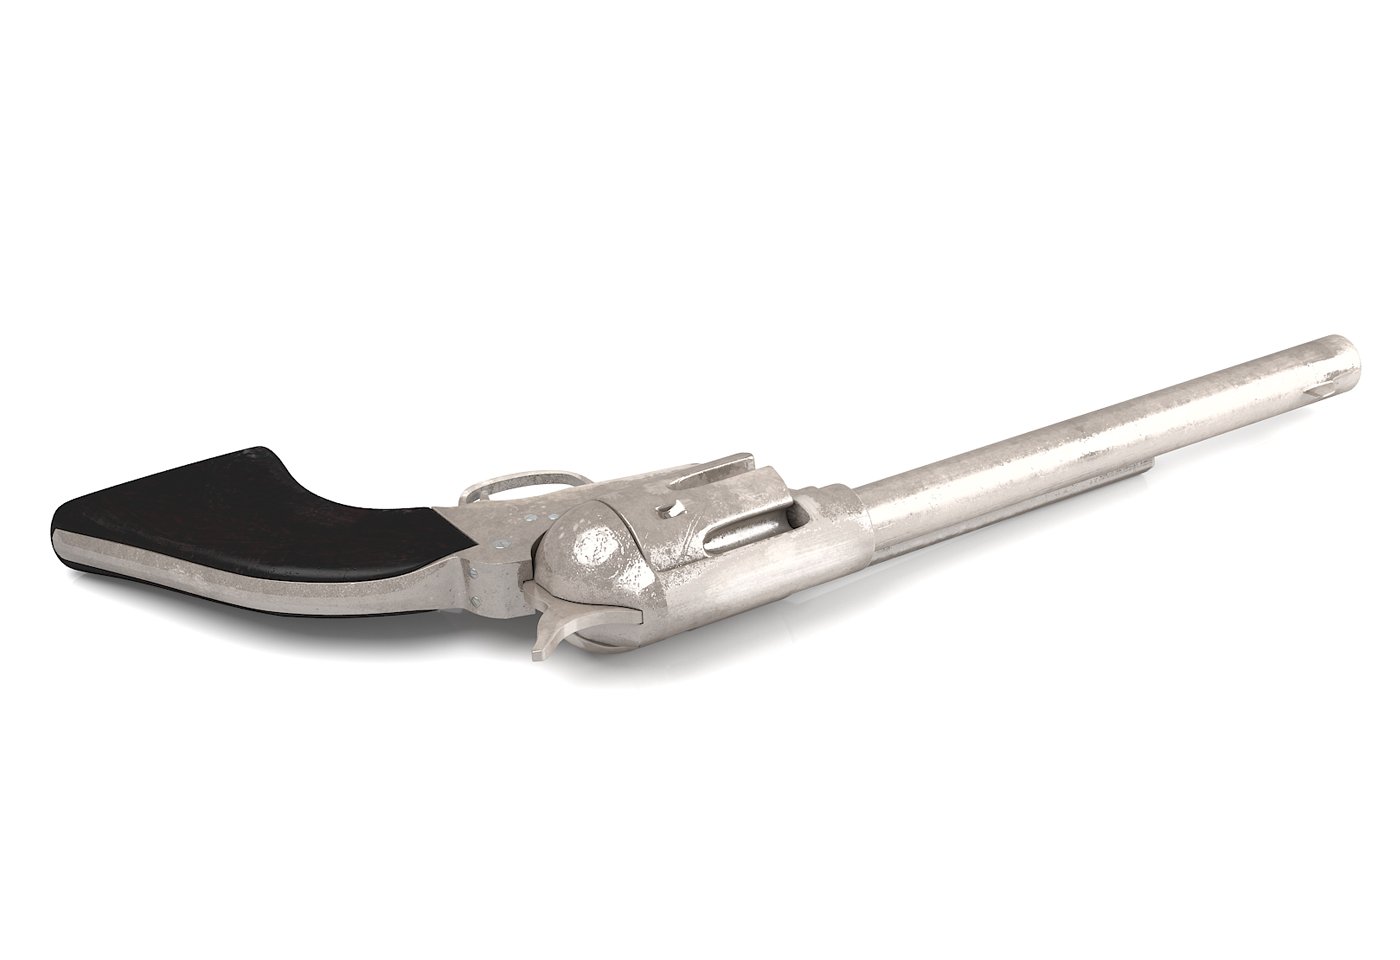
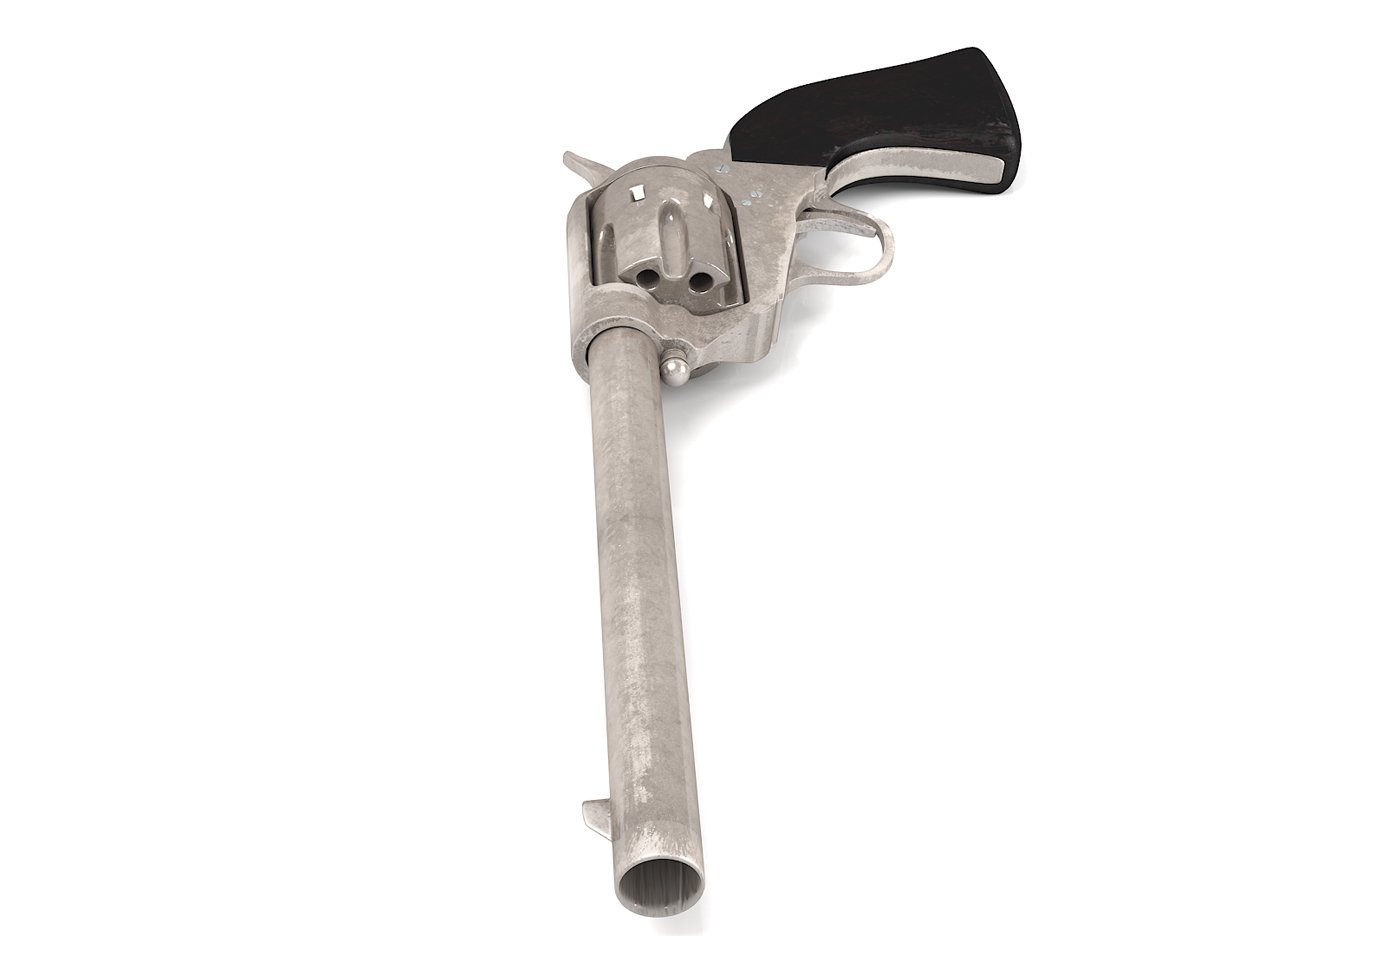
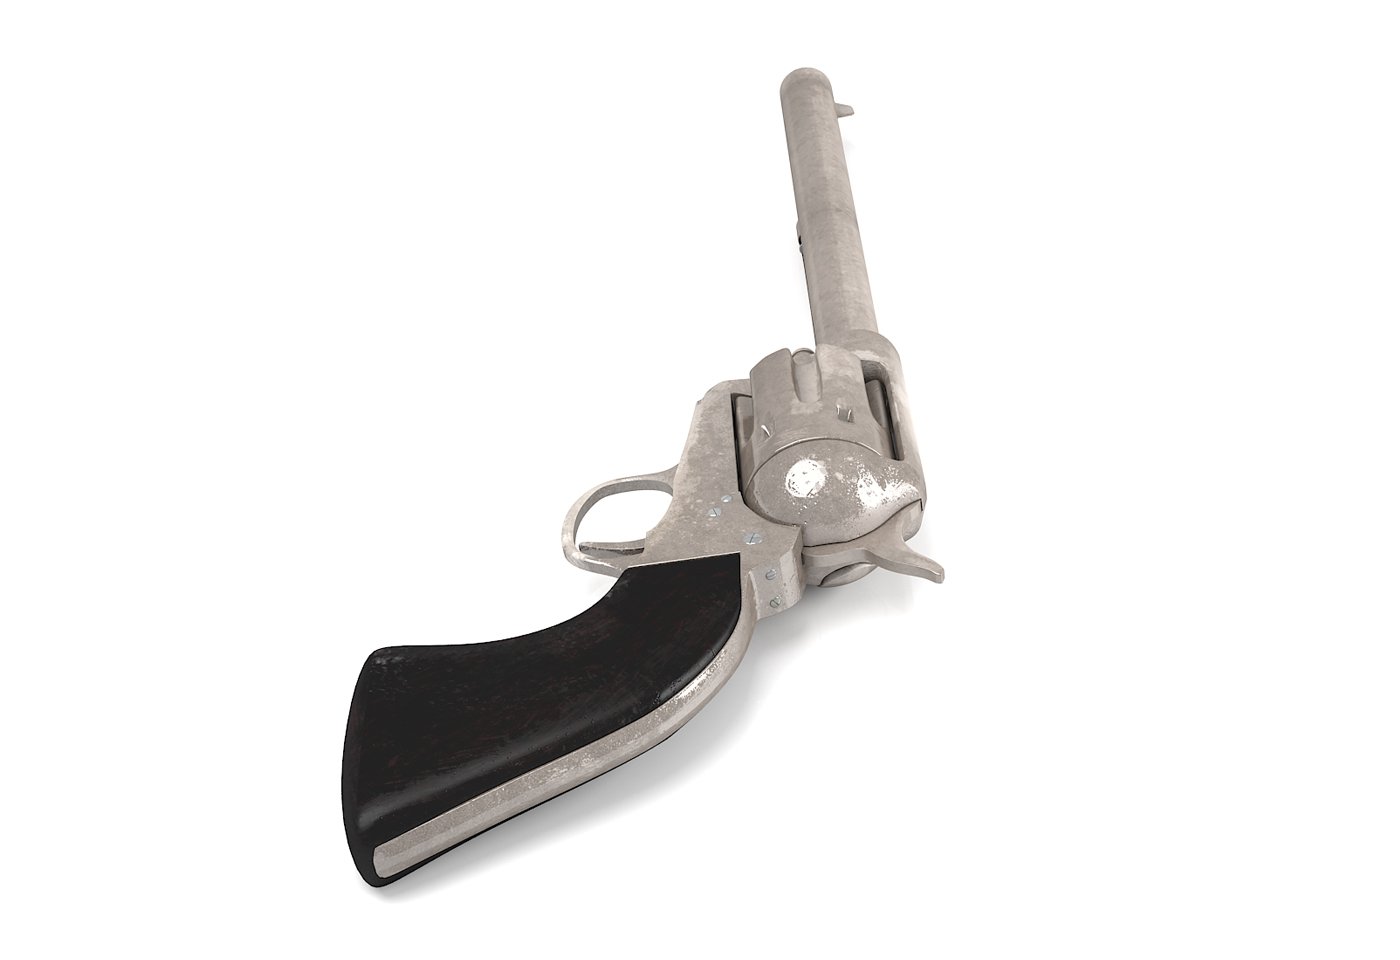
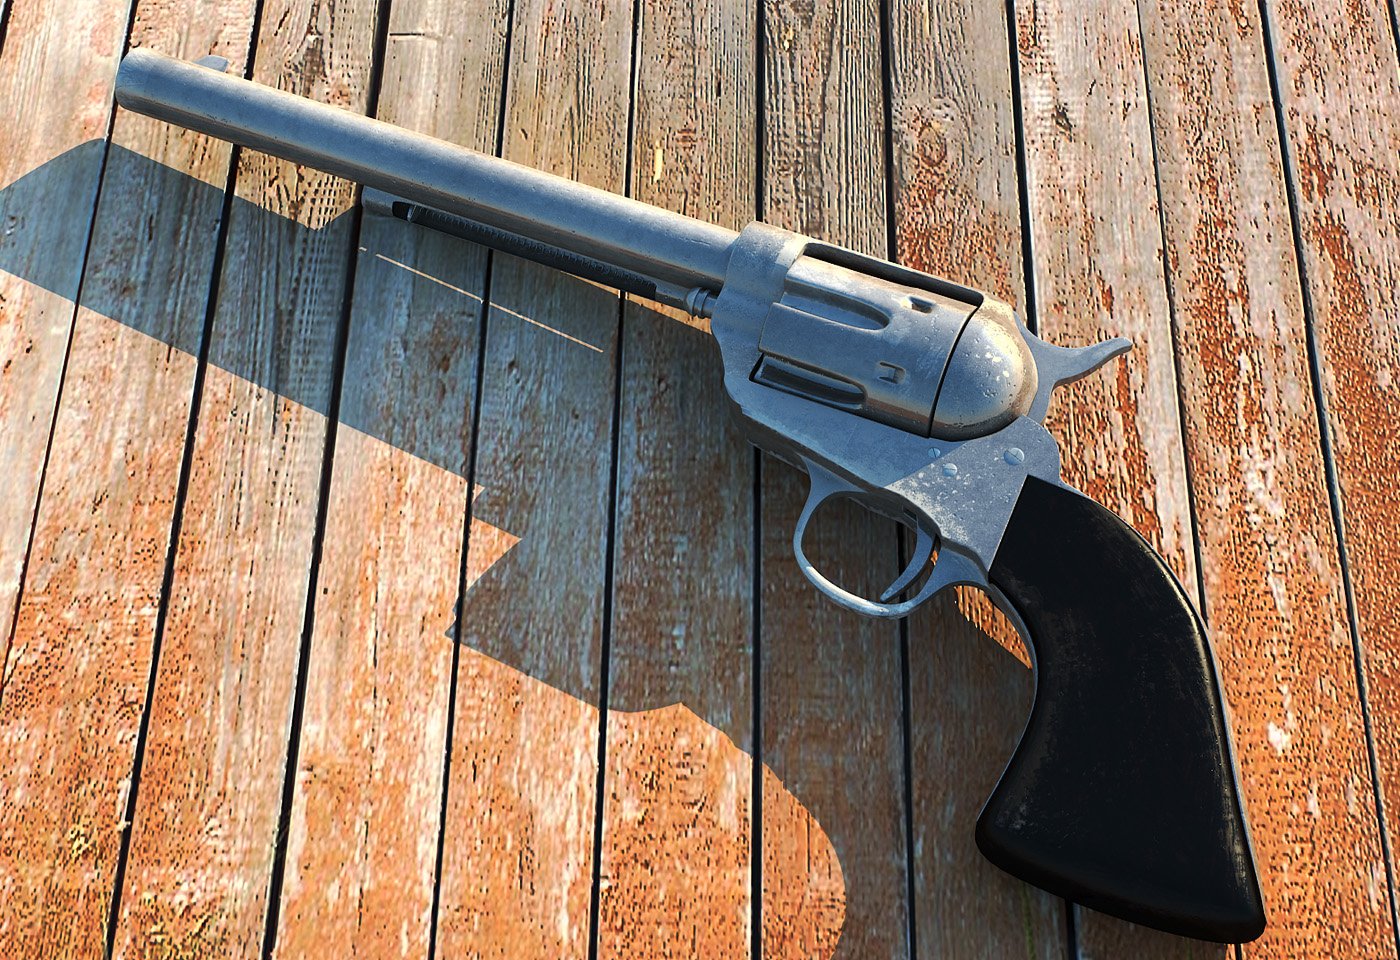
The final renders of my Sixshooter 3D model
So once my modeling and texturing was done it was time for the final countdown. I set some basic lighting, add a physical camera and let my final renders run. And my project was done. I didn’t rig or animate the gun, it was just a simple static model render project, which I succeeded and am happy with it 🙂 So here are my final renders of my one week Sixshooter project!
UPDATE!
I did rig and animate this gun! (Woohoo!) the super short video is below;)
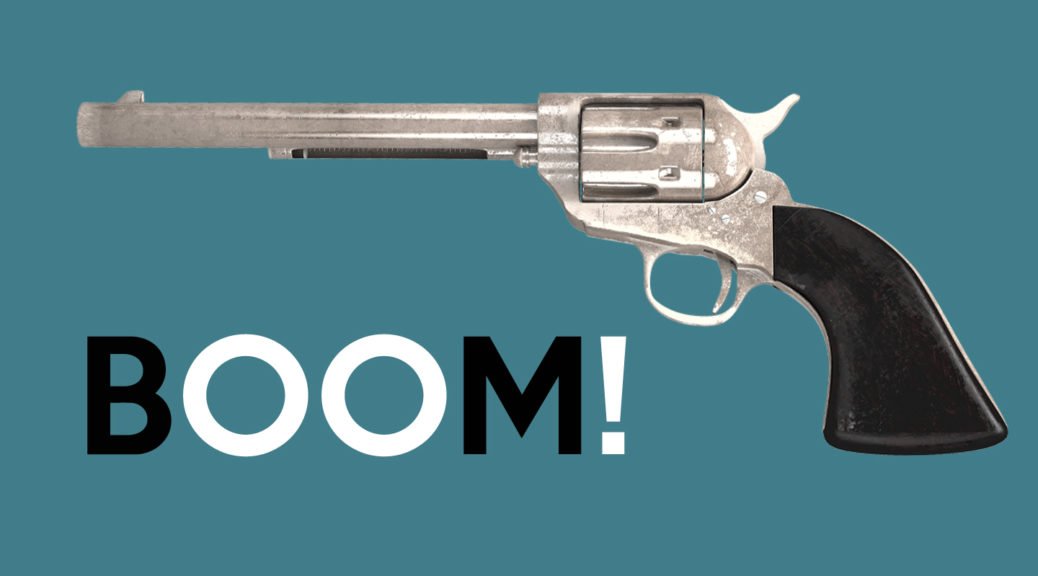
These Sixshooter 3D prints are available on Society6! Click here to see the available items.
Let me know what you think about my new model, write a comment below!
Feel free to subscribe to get undated with my tiny blog!

Share Me!